


Match Review: CLTFC vs Atlanta United
Analyzing how Charlotte's re-energized press and Atlanta's defensive mistakes gave the Queen City a home opener win

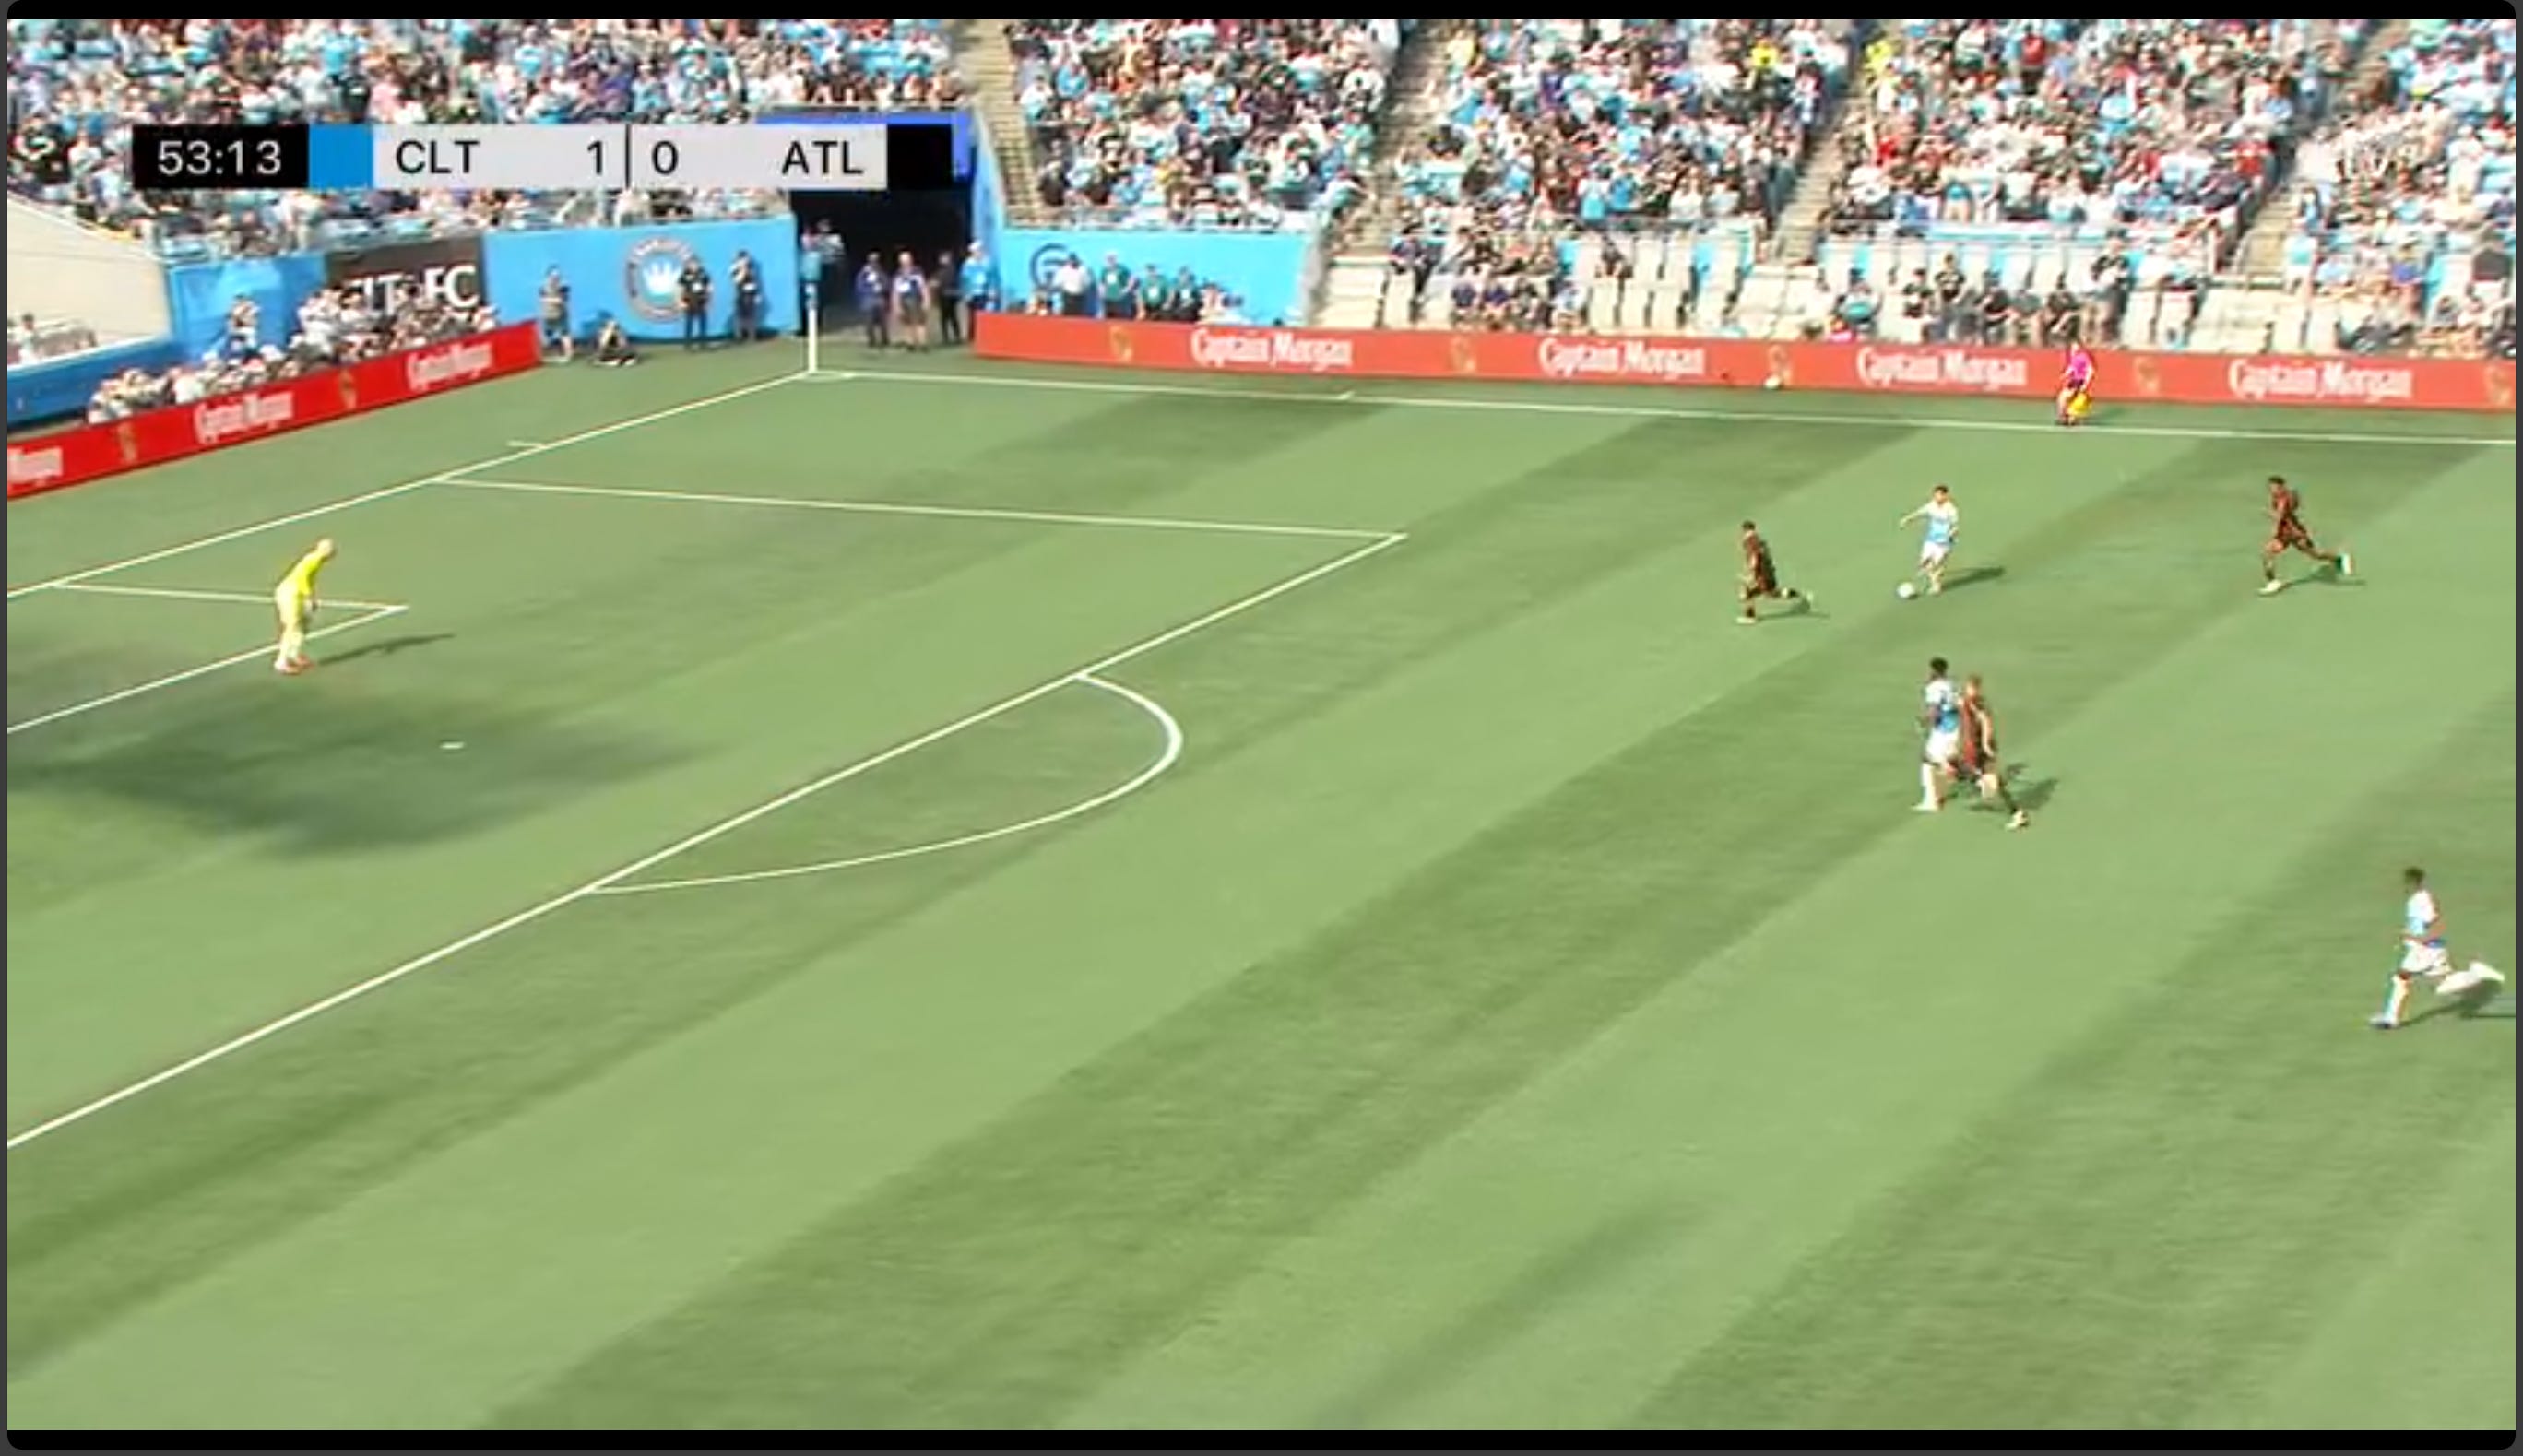
As a Charlotte FC fan, Saturday was perfect. It was sunny and 65 degrees, 50,000 fans packed the Bank, and Zaha was in the starting 11. And the day just got better as Zaha bagged a debut goal, Kahlina got his first clean sheet, and we got the win over our big rivals and a top Eastern conference club. Honestly, Saturday could not have gone any better.
But while it might have felt perfect at the Fortress, it was far from perfect on the film. Atlanta was stifled by our defense and our press, but they did create some dangerous chances. And despite the two goals, our buildup struggled and our offense did not create many threats. Outside of defensive mistakes from our opponent, CLTFC has not shown the ability to consistently create goal scoring opportunities. The 2-0 result covers up how close this game was.
Ok, that’s enough broad statements. We’re here to dive into the film and provide detailed analysis on some of the big themes that defined this game. The rest of this piece will be organized into four topics. We’ll start by looking at our offense showing our struggles in buildup and some of our attacking patterns and issues. Then we will look at our defense with a deep focus on our successful press and the threat posed by Miguel Almiron. And finally, we will look at the goals and some final thoughts. For each topic I’ll discuss themes and patterns of opportunity, concern or of interest and will add game visuals to explain them. Alright, I need to write shorter intros moving forward, let’s get started.
Topic 1: In possession buildup and attack
Last week with no buildup and no Zaha we really did not have any attack to analyze. While we still struggled to buildup and create, we have some film to analyze how we are looking to move forward and (hopefully) create some scoring chances.
Buildup: 2 pivots, new questions
Last week, I highlighted our biggest issue was the tactical decision to play one pivot instead of a double pivot during buildup. This week, we adjusted and played a double pivot. However, there are some other factors to consider. Bronico replaced Williamson in our midfield and he was unable to be an effective pivot, stopping us from building up through the middle all game.
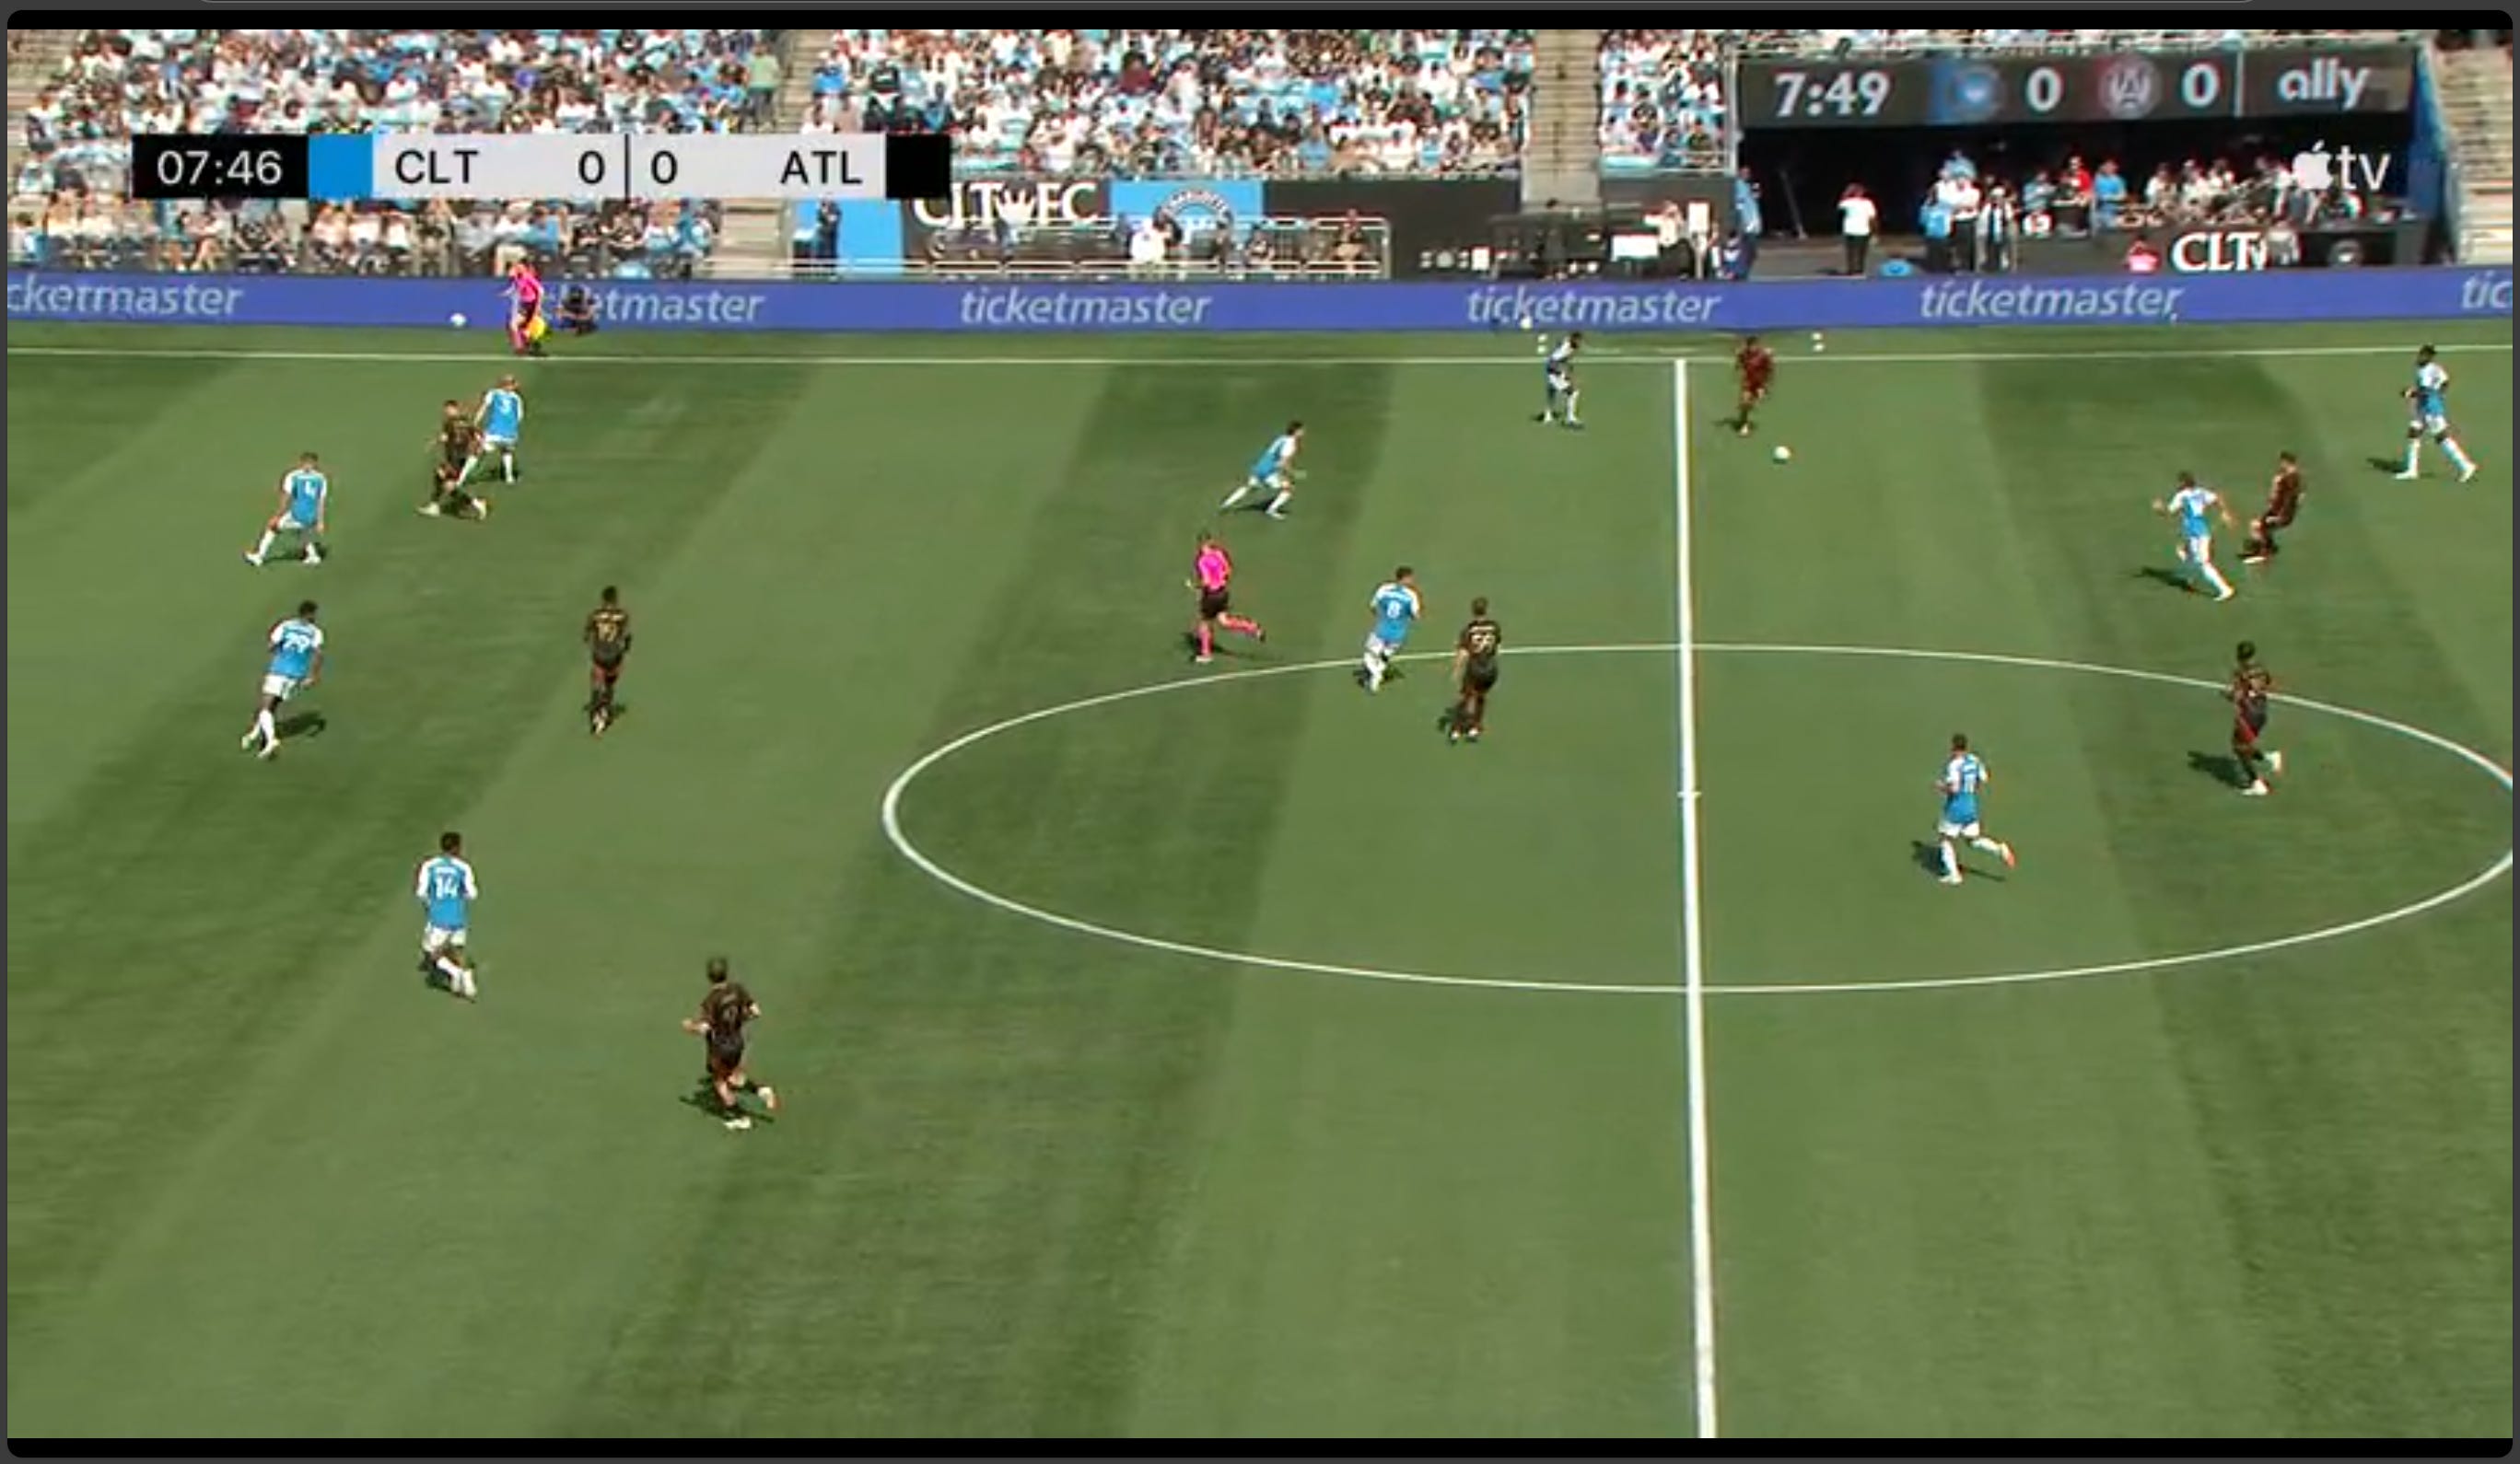
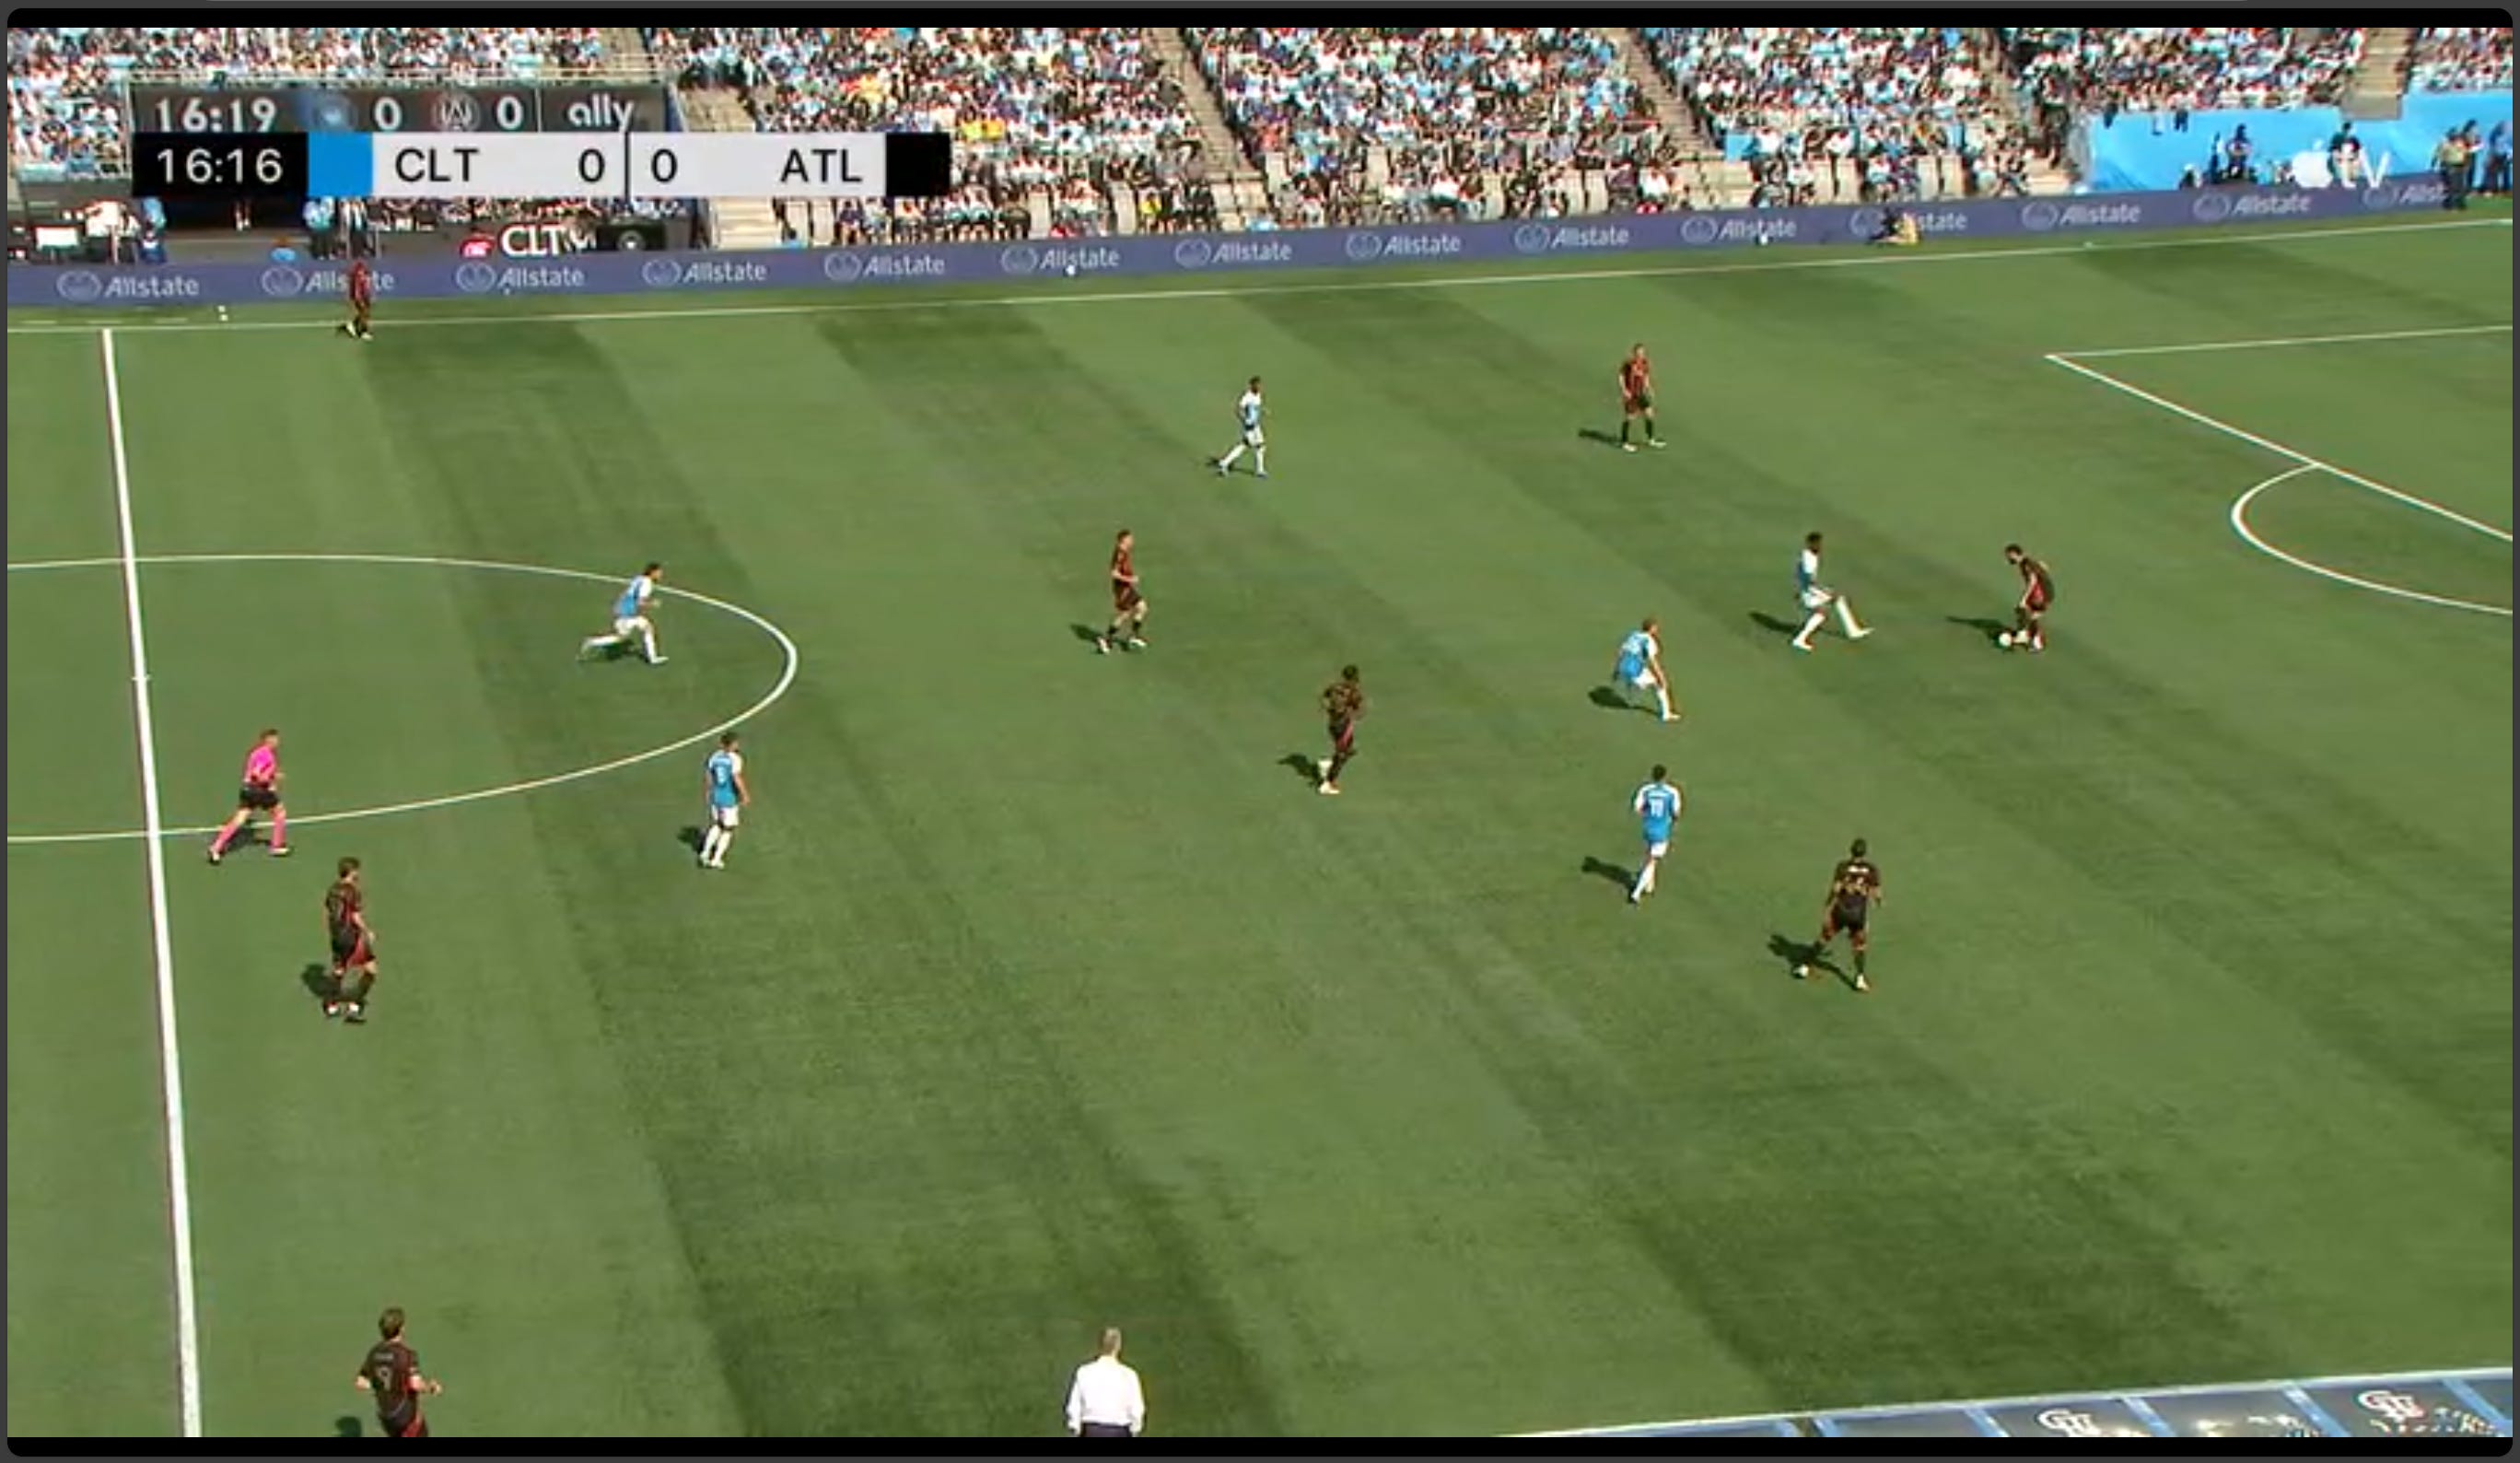
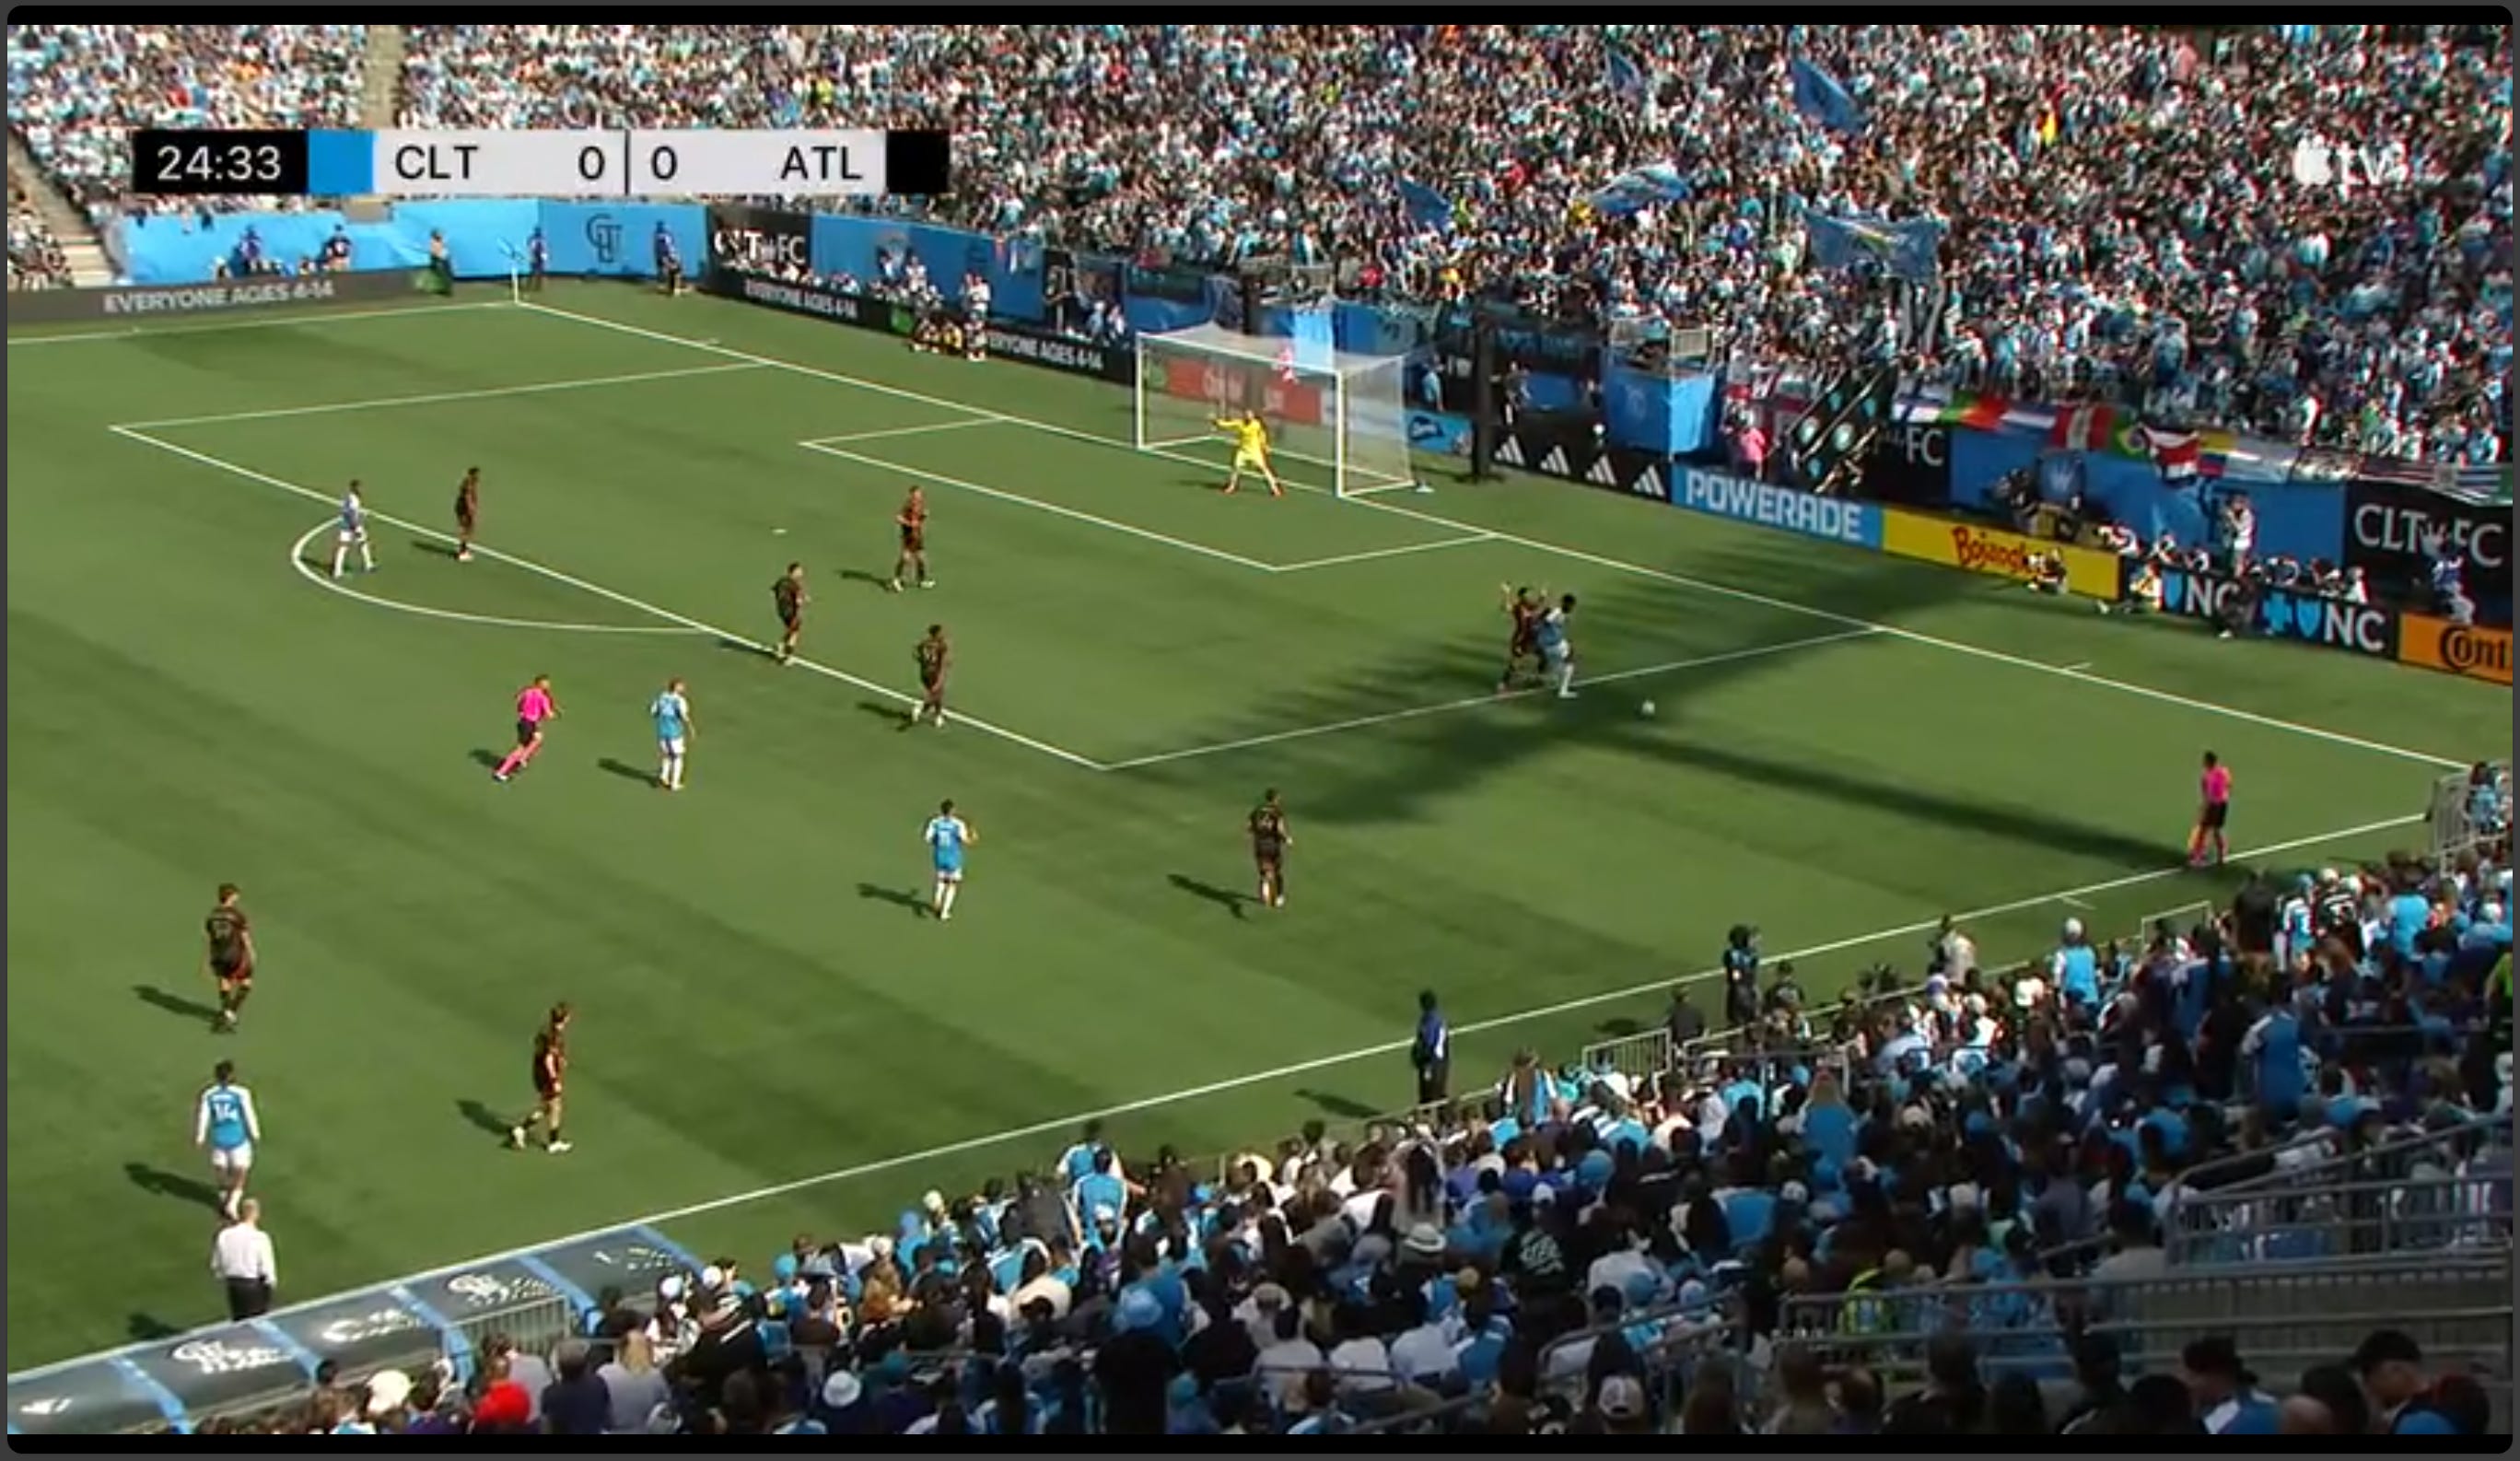
The other big change was Atlanta’s pressing structure was different than Seattle’s. Seattle played a 2-4 (2 forward line, 4 midfield line) in their pressing structure while Atlanta played a 1-3-2 structure that is shown below.

This put our center backs and full backs under less pressure with only Latte Lath (#19) providing pressure. But this allowed Miranchuk (#59) to shadow Ashley Westwood in the buildup phase. Above Westwood is inside the press on the near side and Miranchuk is right above him. As the ball swings from Malanda to Privett and then to Ream, notice who steps to pressure Bronico as he comes to the ball.

That step is from their defensive midfielder Slisz (#99) so Miranchuk can stay close to Westwood. Miranchuk either stayed directly on Westwood or stood in between him the ball carrier (notice how he is between Ream and Westwood in the above clip) to prevent a pass to him. If you watch video from any of these clips, you’ll see Miranchuk constantly looking over his shoulder to find Westwood. We cycle the ball all the way to Byrne on the near side and look at how much more active Miranchuk is in closing down Westwood.

Atlanta told us if we wanted to build through the press, it was going to have to go through Bronico. And it seemed neither our team nor Bronico himself believed he could do it. Look at below where this time Bronico is in the double pivot on the near side and Miranchuk is heavily marking Westwood. Malanda has a clean pass into Bronico but instead he ignores him in the pivot and cycles to Privett.

Miranchuk steps to Privett but notice how he is directly in between Privett and Westwood, cutting Westwood out of the play. Privett tries to thread a pass to Biel who is on the far side of the center circle but it gets intercepted by Almiron.

Privett makes a great recovery with a sliding interception. But ignoring Bronico in buildup when Atlanta was letting us play through him creates a liability.
As I mentioned, it was not just his teammates, but Bronico seemed unwilling to try to be creative himself. Here Malanda has the ball and with Miranchuk shadowing Westwood (near side pivot), Malanda play it to Bronico in the far side pivot who is able to turn and move forward.

But Bronico moves without any urgency o and then just lays it off to Ream (actually Zaha who drops back to where Ream is) with a soft pass and we recycle possession again.
Bronico brings other aspects to both our attack and defense, but he is significantly worse in buildup than Williamson and this will be a tough tradeoff that we will have to make throughout the season.
Similar to last game, we did make some adjustments with some success. Near the end of the half, Westwood started to move out of the press to give himself time on the ball. Below Westwood drops centrally near our center backs which allows him to receive a pass from Ream and open his body to survey the field.
From here he picks out a great lofted pass to an open Byrne who has pushed up and wide, breaking the press.

Westwood also dropped into the right back position when Byrne pushed forward to get time and space on the ball. Below as Privett has the ball we see Byrne pushing up and wide and Westwood backpedaling to replace his position. Notice here we have no pivots forcing us to play around or over the press.

The ball cycles out to Westwood who passes it back to Malanda but Miranchuk continues to stay close to Westwood preventing him from being in buildup.

Lastly, I want to highlight our best buildup sequence of the game. As mentioned above, the 1-3-2 provided our center backs and wing backs more time and space but cut off the middle to Westwood. Here Malanda exploits that by dribbling forward from a goal kick.

Note how Miranchuk is pressing him from an angle that cuts off the pass across to Westwood but still let’s him go forward. Biel (near side) drifts out wide and Malanda finds a great pass to him near the sideline with space.

Biel receives this ball with tons of space and while he is out wide, he positions his body toward the center, receives the ball, and drives toward the center with purpose.

While Atlanta does set their defense. Biel is able to run at the defense in the center which is probably the only time our buildup has done this in our first two games.
So we played the double pivot but because of personnel and lack of trust in Bronico we were still overly reliant on Westwood to break the press. This forced our buildup to focus on going around the press through our full backs. So let’s take a look at how we attacked from each side.
Left side attack: Zaha attention, Ream and midfield runs
Attacking through the wings usually relies on combinations between the full back (Ream) the winger (Zaha) and the midfielder (Bronico). Both our left and right side have talent that can attack but they did so in different ways this game. Our left side utilized midfield runs to create space as showcased below. Here Ream gets the ball and Zaha comes back to the ball out wide. Atlanta’s right back Edwards (#47) steps toward Zaha, as he essentially marked him all game. Below him you can see Bronico making a run in behind Edwards.

I like this approach based on the personnel. Since Bronico is not great at creating within the press, we utilize his engine to make a deep run to stretch the defense. Now the midfield Slisz (#99) can either let him go allowing Ream to play a ball over the top or can run with him and give Zaha space to take on his man and drive into the middle.
Our left side attack really was about making runs like this to exploit the space created by the presence of Zaha and how he pulled defenders toward him. This example below starts with Abada tracking back on the right side and playing a pass across to Privett. As Atlanta is shifting from the near to far side, Privett get it to Ream who drives forward.

Ream is able get a pass into Zaha’s feet and Edwards (#47) immediately steps forward to stop Zaha from turning. Zaha shows his quality with a one touch through ball for Ream to continue his run.

Edwards has no chance of recovering and Ream is free to whip a cross in with willing runners of Agyemang and Biel (with potentially a back post trailing Abada). Sadly, Agyemang and Biel both run into the same space and the cross is dealt but this is a threatening situation.

I just want to add here that I thought Ream had a very good game. Because we tried to build through the wings, he was able to step forward and use his passing and possession skills. While Ream made the run forward on the last play, our more common pattern was a run by a midfielder. Below, Zaha has the ball on the wing and draws pressure from both Edwards and Almiron. Bronico (far side) is going to make that run into the space down the wing and Zaha finds him with an outside of the right foot quality pass.

From here Bronico is able to enter the penalty box and cross from a dangerous position. While the cross is dealt with, I would consider this a defensive breakdown allowing a cross from there.
But our most dangerous combination is when Biel makes these runs instead of Bronico. Again, Almiron and Edwards are both wide on Zaha and there is space behind them.

Biel (#16, top of the box) makes the diagonal run into the space and Zaha threads a pass through.

Now Biel tries a clever spin to open his body for a cross or shot on his left foot however the defender makes a tackle and it goes out for a corner. But notice above that after making the pass Zaha is crashing into the box. And while it would have been a tough pass you can see below there may have been space for Biel to one touch lay it back to Zaha.

If Zaha can get that pass to his right he’s ready to rip a shot trying to go to the far post. This play highlights that we have some threatening patterns but are missing the final pass or correct decision when we get into that threatening spot.
One last play before we switch sides and it is just one image. Malanda swings a pass across to Ream who dribbles forward while Atlanta shifts over. Because Zaha has stayed wide Edwards is staying close to him. Look at the space Biel has to run into the box.

Ream overhits the pass but it shows the potential of these midfield runs.
Right Side: Congested half-space
With Zaha playing, Abada played on the right side this game and a concern I though when reviewing the roster in the pre-season immediately showed up. The problem is both Biel and Abada prefer to play in the right half-space. Now we don’t have time to dive into positional play but when they both drift into the half-space we lose our width and struggle to create chances.
Let’s look at an example. We’ve swung the ball out to Byrne and we can see that both Biel and Abada are on the same vertical line of the pitch. Byrne has a clear passing path down the sideline, but nobody is there.

Byrne plays a lofted ball as Abada is running down to the sideline. But look at how Abada receives the ball.
Abada’s back is turned to goal and there is no attacking threat he poses in this space. All he can do is pass or dribble backwards and cycle the ball. Whether Abada or Biel makes this run, this “inside-out” run from the half-space towards the corner puts our players in a poor position to attack.
And as I mentioned before, this happened multiple times this game because both players tend to drift into that right half-space in the attack. Below is from a corner but look at Biel, Byrne, and Abada are all in the half-space and we have no width again.

And one more just because it is so good. Byrne has the ball below, Biel is in that half-space and so is Abada as he is making a run out wide again. I love this one because you can see Dean pointing to where Abada needs to be.

I think the solution here is that Abada needs to start wider out, most of the time. The reason Abada drifts central is because one of his best traits is as a space finder being in the right spot to creates shots. But by pushing him wide we can use his other skill which is he is great at running at defenders if he has the space to get some speed. Let’s take a look at when Abada starts wide and gets the ball.

The defender is close to him but he has to some space to move forward and with a small change of pace and a few quick touches he whips in a pretty dangerous cross to Malanda on the front post.

It is a little behind Malanda but this clip reminds me Abada can create quality chances with limited space. There is not much happening in the first image and we get a pretty good cross out of it by letting Abada go at a player.
I’ve shown multiple images of bad spacing, so let me show what the ideal spacing look like for our right side. Here is one where Abada starts wide, Biel is in the center-space and Byrne is in the half-space. When Abada receives this pass form Malanda he should turn and drive toward the box with all that space. For some reason he doesn’t but there is plenty of space for him to attack by starting out wide.

However, it can also work with Abada in the half-space. Here Zaha just dribbled in from the wing and his shot got blocked and fell to Abada in the half space. Here Byrne is providing width on the overlap. Abada has that option but somehow gets a pass into Biel who combines for a one-two leading to a shot for Abada.

While Charlotte failed to have a strong attacking output, we showed some promise of how we can create space and the talent we have in the attack. I hope we sort out that spacing on the right and we still need a way to build up through our pivots to truly unlock this attack.
Topic 2: The Press
The biggest improvement from last week was with our press/mid-block (side note I use this almost interchangeably to talk about defending an opponent’s build-up). Last week Seattle’s pivots (especially Cristian Roldan) had plenty of time and space to pass through our team. This week through organization and effort we really took their midfield out of the game and limited the number of chances their dangerous attack had.
There is a ton of images so let’s get started. We pressed in a 2-4 with Agyemang and Pep Biel marking their two pivots. And I need to give them a lot of credit as they set the tone and really got after the press in this game. Below you can see Agyemang and Biel in front of their two pivots. Their role is to step between their midfielder and their side center back when that defender has the ball.

So here Biel steps toward the near side center back while cutting off a pass to the near side pivot. As Atlanta passes to the far side center back Agyemang then steps forward cutting off a pass to his far side pivot.

Now here is where we start to see that effort to pressure the midfield. The pass goes to their right back on the far side sideline and Zaha cuts him off from passing forward, so he tries to dribble inside. As he does this Bronico starts to step, and Biel is sprinting back to pressure him as well.
The RB plays it back to a center back and with Biel out of position he has a free pass to the pivot Biel was covering. But again we see our team buy into this press and Westwood sprints forward to cover and prevent the pivot from turning.

It was promising to see not only that we were organized in our pressing structure, but that there was a full team effort committed to putting their defense and midfield under pressure.
I have to show another effort sequence. Latte Lath just chased down a ball and it is recycled to their midfielder in the center. Zaha comes from our 2nd line (horizontal with Bronico) and blocks the pass out wide.

This block triggers everyone on our team to hunt the ball and press. Agyemang tries to get it but is beat to it and the far side center back tips it to #3, but Abada (#11, near with Zaha in the above picture) pressures him and then “jumps” the back pass to continue the pressure.

Because of this pressure, the defender has a panic weak pass toward the near side. Atlanta is clearly first to the ball but Westwood has now pressed forward and the Atlanta player cannot turn.

The ball goes wide to the near side but there is no way forward because Biel has run to close down the space.

So the ball has to go backwards again where Abada pressures again and jumps the pass again as it goes back to the goalie.

These images are only 12 seconds apart. In that time think of how far backward they have worked and how many panicked passes they had to make just to keep the ball.
Creating transition attacks through the press
This press limited Atlanta’s midfielders from building an attack and it can create opportunities for us to play transition offense. Let’s take this harmless cycle of the ball. As it goes to Atlanta’s left back Abada curves his run to cut off a forward pass and applies pressure.

As the ball predictably goes back to the center back, both Biel and Agyemang step forward and you can see below there is nowhere for the ball to go.
Agyemang gets a challenge in and fouls the defender. But a clean tackle is a goal scoring opportunity out of seemingly nothing.
In the second half we had another chance where the Atlanta’s center back was forced inside by Zaha cutting off a passing lane out wide. He takes too large of a dribble and Agyemang is there to challenge. The ricochet of this tackle falls to an Atlanta player but as you can see below, if that ball fell to Agyemang, Biel, or Zaha we are on the break.

Punishing short goal kicks
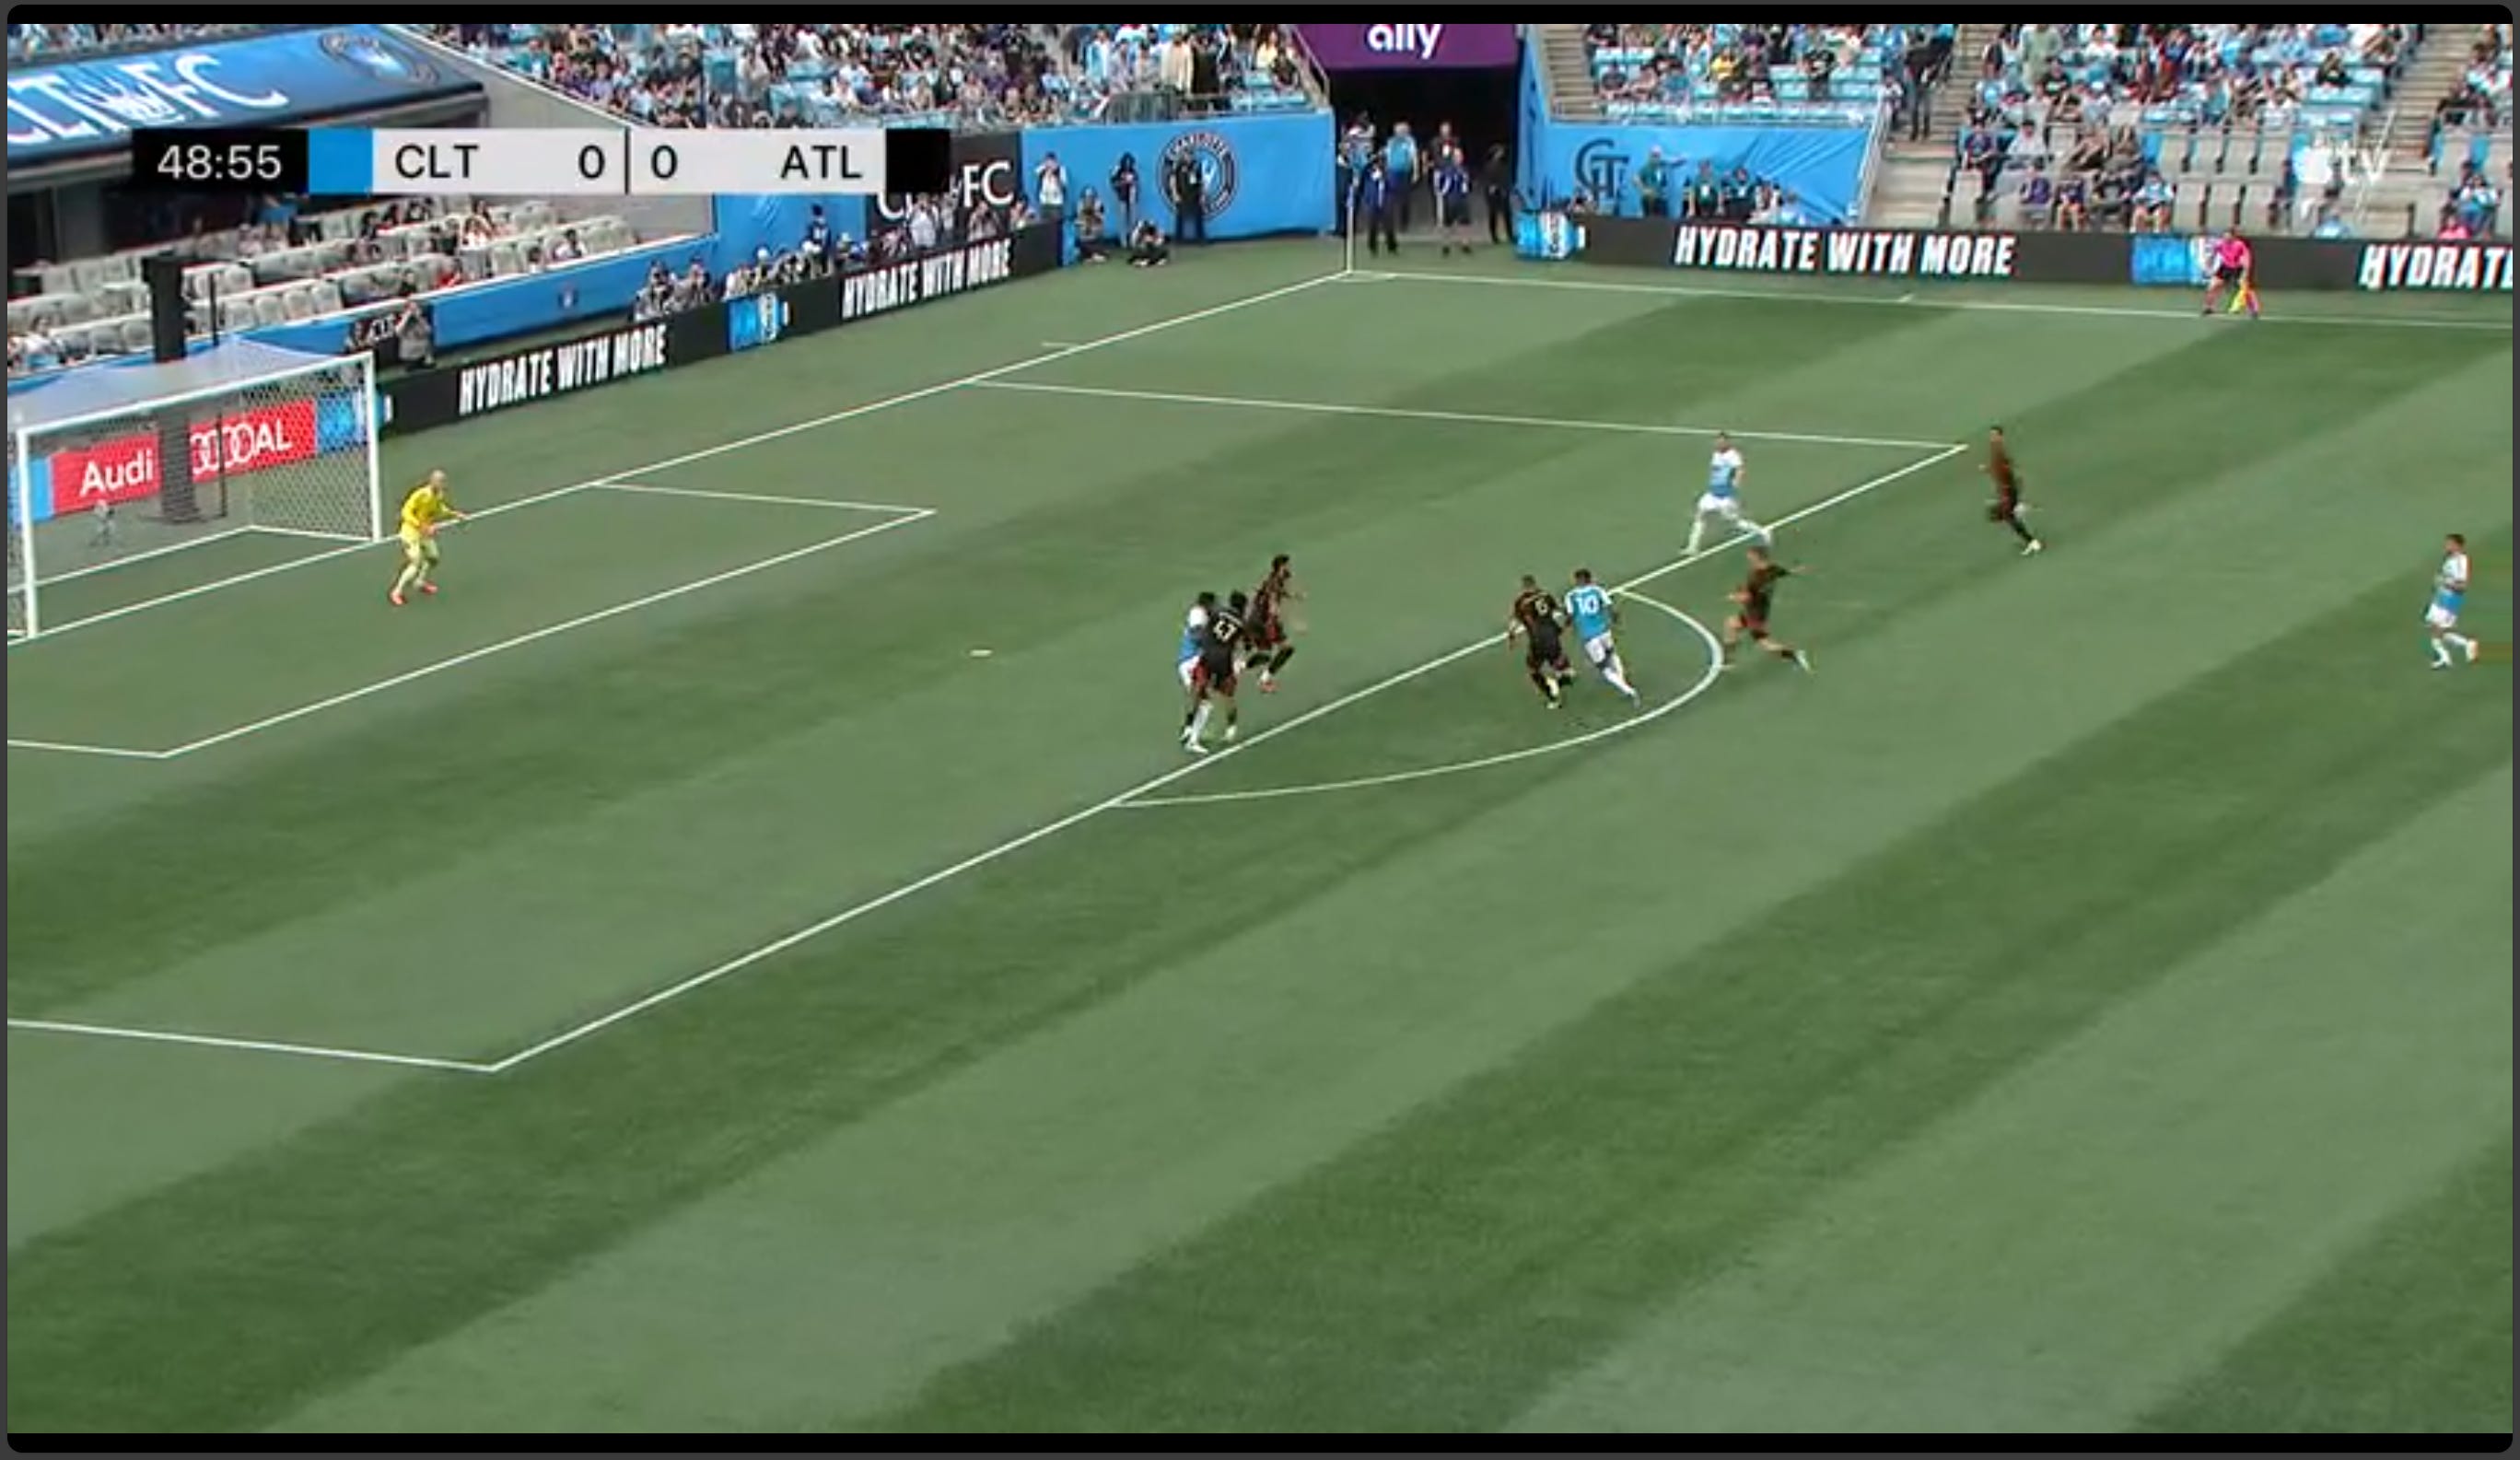
Where our press made the biggest difference is after we went up 2 goals, it allowed us to ice the game. The next few clips come from Atlanta goal kicks. Here Biel recovers to pressure Slisz (#99) forcing a pass back to the far side center back.

Agyemang presses forward and as the defender passes back to the goalie Agyemang jumps past the defender to pressure the goalie. Doing this he forces Guzan to pass to the near side and the press is on.

The next picture if the end result. Atlanta has nothing going forward here.

Another goal kick 2 minutes later and here Biel has jumped the pass back to the goalie from the left back on the far side.

The ball goes to the center back on the near side and Zaha curves his run taking away a pass up the wing to the right back. The center back tries a risky pass into Almiron but Bronico is immediately there to make a tackle and we win back possession.
After this Atlanta went long on every goal kick for the rest of the game. This disrupted Atlanta’s attack because they couldn’t even get the ball near their attackers.
Now after the 60th minute Atlanta did start to break our press. But the way they did it at first is still a win for us. Here Miguel Almiron (#10) who was their best attacker on the game has dropped deep to get this ball for buildup.
He makes a great pass and Atlanta moves into the attack, but note that Almiron (once again their best attacker) is so far behind the play he is barely in the frame (left side of image).

Even though our press failed, we took their most creative player out of the attack because of our press.
Around the 68th minute our press stops being effective for the rest of the game. I think it was mostly fatigue and committing to defend the lead we had. But this was a huge improvement from our first game. And having an effective and high effort press is both going to protect our defense and can help create transition opportunities when our offense is struggling.
Topic 3: Miguel Almiron and our defense
With the center blocked by our press and a backup center back playing left back, Atlanta’s successful attacks came from the right side. Miguel Almiron (#10) was their right winger and the center of any offensive move Atlanta had this game and similar to Zaha (both ex-premier league players in their early 30s) he brings a quality that we cannot always stop. I want to look at his most threatening plays and show ways we can mitigate the threat such a quality attacker poses.
Midfield Cover
Despite playing as a right winger, Almiron played more centrally, either occupying the right half-space and the right back going wide or starting wide and then looking to dribble centrally. Here, the far side center back (Gregerson) plays a great pass in between Bronico and Zaha which Almiron receives and opens his body.

As Almiron drives into space its key to see Westwood’s position (right next to the referee). His presence being in front of Almiron provides protection for our center backs to focus on Latte Lath and not be pulled out of position.

Almiron continues to dribble and then passes to Saba Lobzhanidze (#9, will be referred to as “Saba” moving forward) who gets a cross in but we are in a great position.

Because Westwood provides some midfield cover against their playmaker, Malanda and Privett can focus on marking their main striker and stopping crosses, two things they are excellent at. But without that cover they can get pulled out of position and open gaps in dangerous areas. Below, Atlanta cycle to their right back out wide who drives forward.

Notice above that here Miranchuk (#59, another playmaker) is in between our midfield line and our defensive line. They get a pass into him and this creates trouble.

Here without midfield cover we are in a tough spot. Privett now has to face Miranchuk with the ball and pressure him. But Ream was covering the run by Almiron to the corner and when this ball comes inside, he’s outside of Almiron who adjusts his run and turns towards goal. Privett is now responsible for guarding both Miranchuk and Almiron’s run and cannot cover both. Giving Almiron a clear through ball for a shot.

We do a decent job recovering and Kahlina makes a great save, but this is not a chance we want to be conceding.
Getting pressure on Almiron
In addition to positioning, we also want to pressure their creative players so they do not have space to find dangerous passes. Below we get positioning correct but not the pressure and it leads to a good Atlanta chance. This time Almiron has drifted wide and gets the pass from Gregerson (center back far side).

As Almiron receives the ball notice the 3 Atlanta players on that line are all sprinting forward. This moves our defensive line and our midfield line back toward our goal and Almiron dribbles centrally into the space created.

We have both Bronico and Westwood able to face Almiron, but they are changing direction from the image above and no one is able to pressure Almiron in space. He has got an easy pass to Saba (#9) wide open on the near side. We do recover but as the replay below shows, Saba has an open pass to Miranchuk but opts to try to dribble past Byrne.

The next clip looks similar but just being a few steps closer to Almiron makes a big difference. Here Almiron is in a similar spot with space again, but Westwood is closer and cutting off his access to dribble or pass across. Almiron get a nice through ball into Latte Lath but this run is taking him away from goal and Atlanta is forced to pass it out.

It comes back out to Almiron at the top of the box and once again Westwood is not right on him but close enough to block the shot and protect Kahlina from having to make a save.

Our midfielders do not have to be defensive studs. But their ability to be in position and shield our defenders from having to step at the opponent’s playmakers is going to be a key to maintaining our strong defense.
Problems with transition moments
After conceding a transition goal last week to Seattle I wanted to show the most dangerous chance Atlanta created off of a transition. We lose the ball in the attacking third and Bronico steps forward and fouls Fortune (#35) to try to stop the transition. As the foul is called, we see Bronico, Westwood and Byrne all ease up and stand still. Fortune smartly sets the ball down and quickly passes to Almiron standing in the center circle.

And now we are in a transition where Almiron is running directly at our back line with supporting options.

He plays it out to Saba on the near side who makes a move on Malanda. Thankfully, Malanda makes a big recovery which disrupts Saba and Almiron just enough that the shot angle is one Kahlina can deal with.

But as we try to clear, Biel gets the ball and his pass is deflected by Slicz creating another transition attack where our defense is not set.

This gives Slicz a cross from inside the box and with our defense a little out of shape, Saba gets the best chance of the half. Luckily for us he flubs the shot and we get away with one.

Note how here Malanda has to push out to cover the crosser as opposed to a previous clip where both our center backs could stay central to defend the cross.
Bronico Aggression
I noted earlier how starting Bronico over Williamson makes our buildup weaker, however Bronico does add an intensity and pressure on the defensive side. Specifically in the second half when we just got our two-goal lead, Bronico took the responsibility to pressure Atlanta as our team started to fatigue and more space opened up.
Here Atlanta has just made a defensive stop and are looking to move forward quickly. Slicz (#99, near side) passes across to Fortune who is looking to play through our press. Bronico flies forward and makes a challenge as Fortune receives the ball. He does foul him but it’s a strong tackle and it allows our defense to recover and reset.

And one more here. Atlanta tracks down a clearance and recycles play forward. Just before this image below, Almiron has drifted toward the ball from up field and Bronico checks over his shoulder to spot where Almiron is. As the pass comes to Almiron, Bronico anticipates and starts to close him down.

He meets Almiron who cannot turn and makes an aggressive challenge. It earns him (deservedly) a yellow card but the message and intention here is clear. Our team is getting tired and we are trying to protect our lead. Bronico ensures Almiron is not going to have any space to attack or get creative and is going to have to fight for every chance.

I’ll close this section by saying all of our team had great defensive moments. Malanda, Privett, and Ream especially all make some great tackles and interceptions that I did not highlight. We have one of the best back lines in this league and when our midfield shields them with good positioning and pressure, we are going to be tough to beat.
Topic 4: The goals and Agyemang appreciation
Ok let’s finally talk about these goals. These goals were not a result of our attack, instead we capitalized on a few defensive mistakes by Atlanta. But to understand what forced these mistakes and how we capitalized, we need to talk about Patrick Agyemang.
Agyemang the advanced forward
To use a football manager term, Agyemang is being asked to play as an “advanced forward” this season. This role is about being on the back line of the defense and constantly making runs and challenging the two center backs. What this does is stretches the defenders back towards their goal and opens space for attacking playmakers (Zaha, Biel, Abada) and our midfielders to have more space to play in.
While advanced forwards can score a lot of goals, most of the work is a thankless job requiring a ton of effort, and their chances are reliant on the service from their teammates. Agyemang this game was asked to physically challenge both their center backs with little support and on half chances at best. And Agyemang put in a heck of a shift.
Chasing through balls
Here is an early clip where Nathan Byrne lofts a pass down the sideline and Patrick gives a challenge for it. You can see below he is probably a step behind the defender and this ball is not very threatening.

But Agyemang gets a shoulder on him sticks out his leg and gets a touch and then drives forward.

This chance does not come to much but this is the effort and role Dean is asking of him, to not concede anything and compete for any chance.
Here’s another clip where Westwood from a static position pings a lofted pass again towards the near side corner. You can see just outside the penalty box on the near side Agyemang and his defender are just at a standstill.

But Agyemang chases a half chance again getting outside his defender and physically shielding the ball.
This was a physically taxing game for Patrick. On top of leading the press with Biel he continued to physically bump and compete with these center backs on 50/50 balls and any through ball near him. I could show another 10 instances of what is above but I’ll settle for a just a few more.
Here he is fighting two defenders for a through ball and he gets knocked to the ground.

Here he is chasing a lobbed ball down the sideline and driving forward with no support.

And here he is 65 minutes into the game. Ream heads an Atlanta long goal kick forward and Biel gets a touch and lofts a through ball just to avoid pressure. Agyemang is still fighting to try to get past and make this clearance into a chance.

Basically, any ball that it going forward, Agyemang is supposed to compete and try to turn it into a goal scoring chance.
The goals
Now that we’ve covered that let’s get to the goals. Both goals are a combination of defensive mistakes, our aggressive press, and Agyemang being an advanced forward.
Below is the start of the first goal. The ball is out wide with an Atlanta center back and Biel (top of screen far side) steps past their left back (keep note of this) to pressure the ball.
From here the ball goes long, Malanda contests and Privett does a one touch clearance that drifts toward midfield. And even on this clearance, Agyemang sprints forward to try to compete against the center backs.
The far side center back tries to head the ball to his teammate but he makes a mistake and it falls to Zaha who (as he should) tries to create a shot. And as he is about to shoot (image below) a tackle comes in but Biel is there to open the score.
In the image above there are two things to note. First Biel having pressed forward is open because he started farther forward than Atlanta’s left back enabling him to get this chance. Also look at how Agyemang despite not getting the ball continues his run to goal and occupies two defenders, leaving space for Biel.
This second goal is going to have a similar feel. Here Byrne plays a long ball type clearance and Abada, with our aggressive press mentality, runs to contest it. Atlanta’s backup right back misplays this bounce and Abada runs past him starting this counter.

At this point it becomes the two center backs against Abada, Agyemang (center of screen above) and Zaha (cut off on right of image above). Agyemang sprints straight toward goal to present a threat and he is open and clean through as shown below.
He doesn’t get the ball but he continues his run and pulls that defender which keeps Zaha wide open for the rebound and his debut goal.

Look at Patrick’s position in the box and pose as the goal goes in. Tell me it is not the same thing as when the first goal went in (below).

Patrick Agyemang, no goals, no assists, but a huge contribution to both goals.
All the work for one shot
I want to end with this last clip. Agyemang after 75 minutes of chasing down through balls, battling the center backs, and making runs to give his teammates space finally gets his chance. We get a throw in on the near side by Ream and Bronico gets it and makes a nice pass to Abada on the far side.

Patrick here is next to a center back on the back line. He starts this play on the near side to be a long throw target but as the play shifts over he continues to seek out a scoring chance and shifts towards the ball.
Abada makes a quick dribble inside and then plays a through pass near Agyemang. It is not perfect but Agyemang is one on one with his center back and he fights to get past him and is first to the ball.

After 75 minutes of battling, Agyemang has finally got himself past the defense and one on one and he only gets on touch to make it count.

A goal here would have been awesome. Sadly he puts this one over the bar with his last touch of the game (Toklomati comes in at this stoppage).
Agyemang will get some goals this season but a lot of his numbers are going to be based on the service he gets from his teammates. Some games he will be handed several great chances and others (like this) he is going to have to fight all game just for one. It is easy to overlook this performance as it doesn’t appear much on the stat sheet. So I just wanted to applaud Agyemang on a gritty and great 75 minutes and if he keeps competing for and challenging opposing defenders on any possible chance, I believe the goals will come.
Conclusion
This was an awesome home opener, a great win for the fans, and an improvement over our showing in Seattle. I can definitely see the talent in this team and believe we can continue to get better. But we still have a lot of questions to answer including if we can buildup through our midfield, protect our center-backs from opposing playmakers, and if we can create dangerous opportunities without relying on set pieces or defensive mistakes. I’m excited to see what we learn about our team after another challenge at Inter Miami this weekend.